Wooden DIY Flying Drone Kit
Build a real flying drone from scratch using a wooden frame, brushless motors, and a flight controller. Learn the same engineering principles used in professional aerospace — from structural design to avionics wiring.
Difficulty
Beginner to Intermediate. No prior drone building experience required. Basic tools included.
Build Time
Approximately 4–6 hours across 2 days (includes glue curing time). Perfect weekend project.
What You Learn
Structural airframe design, basic soldering, flight controller calibration, PID tuning, and aerodynamics.
Build Guide
Gather Your Materials & Cut the Frame
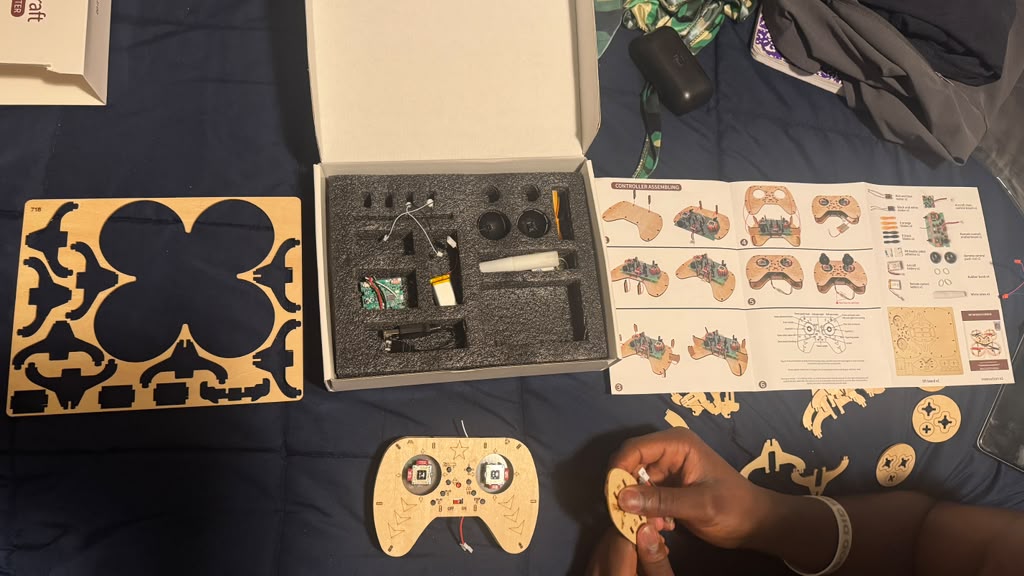
Start by laying out all the components from your Wooden DIY Drone Kit. The kit includes pre-cut lightweight balsa and plywood sheets, a brushless motor mount, propeller hardware, and all the fasteners you need. Begin by carefully separating the laser-cut wooden frame pieces. Sand the edges smooth — clean joints mean a stronger, lighter airframe. This is where you learn the fundamentals: every gram matters in aerospace.
Assemble the Core Frame
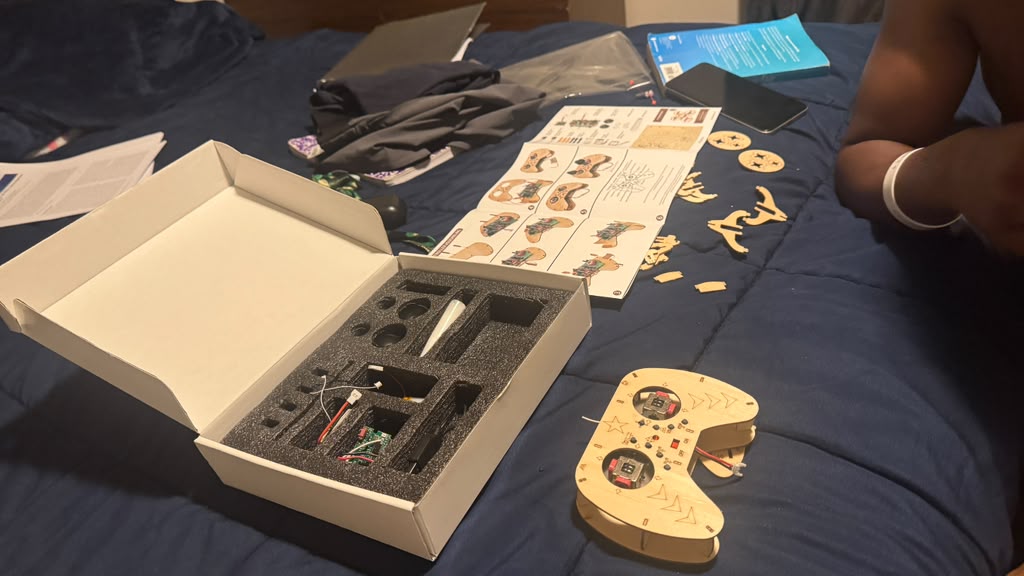
Using wood glue and the included alignment jig, assemble the central fuselage and motor arms. The cross-brace design distributes stress evenly across the frame — the same engineering principle used in full-scale aircraft. Take your time aligning the arms symmetrically; an unbalanced frame leads to unstable flight. Clamp the joints and allow the glue to cure fully before proceeding.
Mount the Electronics & Wiring
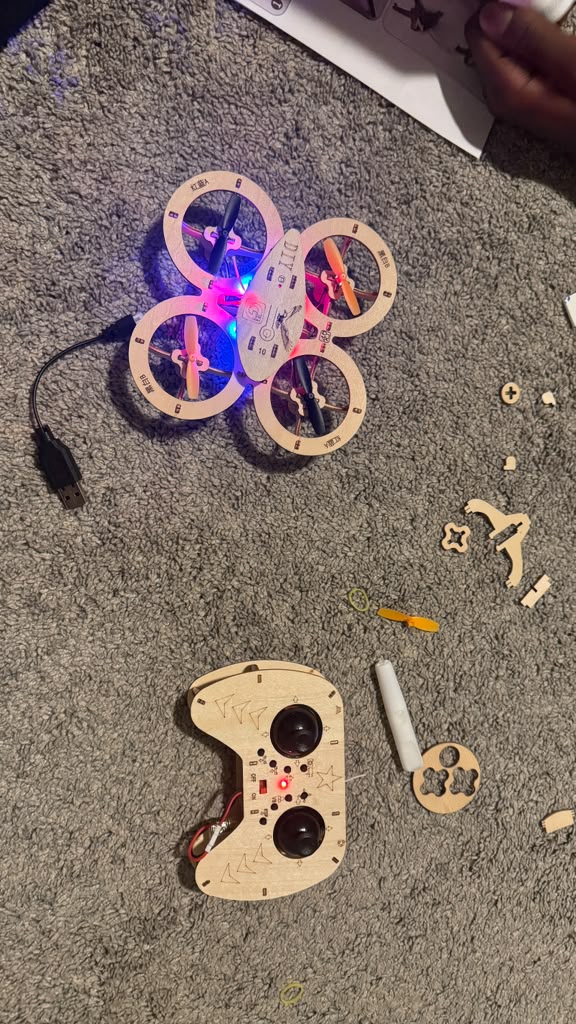
Now it is time to bring your drone to life. Mount the brushless motors onto each arm using the included bolts. Route the ESC (Electronic Speed Controller) wires through the frame channels to keep everything clean and reduce electromagnetic interference. Connect the flight controller board to the centre plate — this is the brain of your drone. Solder your connections carefully; reliable wiring is the difference between a successful flight and a crash.
Final Assembly & Pre-Flight Check
Attach the propellers (pay attention to CW and CCW rotation markings), mount the battery tray, and secure the landing gear. Before powering on, perform a full pre-flight checklist: verify all connections are solid, props spin freely, and the centre of gravity is correct. Calibrate the flight controller using the companion app. This step teaches you the discipline that every aerospace engineer follows — no shortcuts before launch.
Ready for Flight
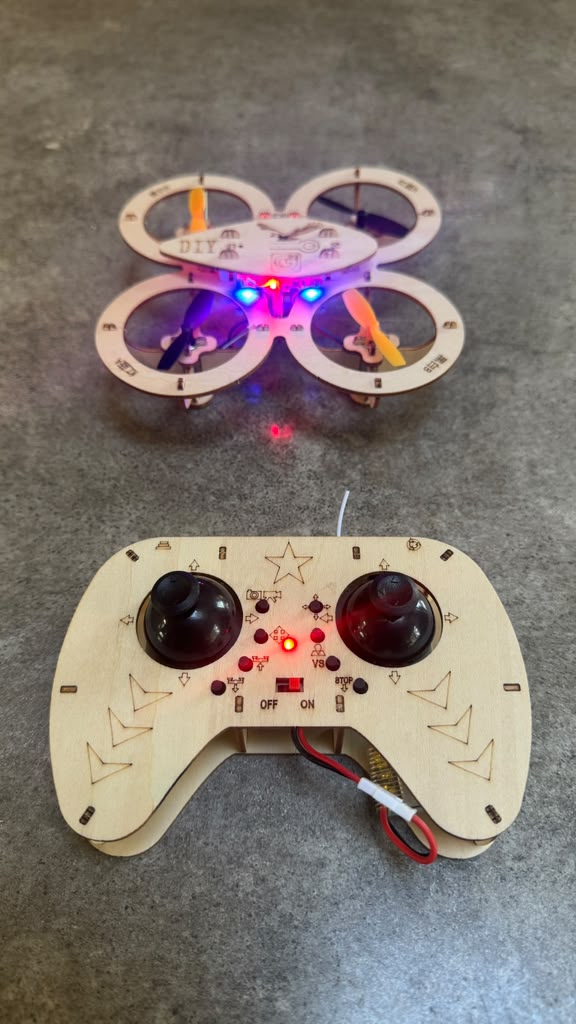
Your wooden DIY drone is complete! Find an open outdoor area, power up, and perform a low hover test first. Observe how the flight controller makes micro-adjustments to keep the craft stable — that is a PID control loop in action, the same technology used in satellites and rockets. Congratulations, you have just built a real flying machine from scratch. This is where your aerospace journey begins.
Get Your Wooden DIY Drone Kit
Everything you need in one box — pre-cut wooden frame, motors, electronics, and a step-by-step manual. Available now in our shop.